Two shots can share beans, dose, and grind setting and still taste completely different. Often the difference is what happened to the grounds in the minute between grinding and locking in. That window is puck prep, and it decides whether water flows through the coffee bed evenly or finds a shortcut and rushes through one weak spot. This guide sets out the full routine in order — dose, WDT, settle, tamp — plus what not to do, how to spot channeling, and where prep ends and grind adjustment begins.
Why Puck Prep Matters
Espresso pushes hot water through a compacted bed of fine coffee at high pressure, and water under pressure always favours the path of least resistance. A clump, crack, thin patch, or loosely tamped area lets water concentrate there. That concentrated flow is channeling.
A channeled shot is two faults in one cup. Coffee around the channel is over-extracted — too much water passed through it — giving bitter, harsh flavours. The rest of the bed is under-extracted because water bypassed it, giving sour, thin flavours. The result tastes sour and bitter at once, and no dose or ratio change fixes it until flow is even. If that sounds familiar, see why espresso tastes sour or bitter and how to tell the causes apart.
Good prep has one job: make the bed uniform in density, top to bottom and edge to edge, so water has no preferred path.
Step 1: Dose Into the Basket and Weigh It
Start with a clean, dry basket; moisture makes grounds stick unevenly. Grind into the portafilter or a dosing vessel, then weigh the dose. Even a half-gram swing changes how full the basket is, and the same tamp on a fuller or emptier basket gives a different bed. Use the dose your basket is rated for as a starting point — many home baskets are designed around 18 grams in a 58 mm portafilter, though smaller machines use less — and hold it steady while troubleshooting. Change dose only deliberately, never by accident of an unweighed scoop.
Step 2: WDT — The Weiss Distribution Technique
The Weiss Distribution Technique, or WDT, was developed by John Weiss in 2005 and shared in home-barista communities to break up grinder clumps and distribute grounds evenly through the full depth of the basket. The tool is simple: a handle with several very fine needles, typically 0.3 to 0.4 mm thick. Thin needles matter — thick pins or paper clips push grounds around and leave furrows, while fine needles stir without ploughing.
With the portafilter level, ideally in a dosing funnel, push the needles near the bottom of the basket and rake in small circles, starting deep and working upward until the whole bed is covered — centre, edges, and between. The motion is stirring, not combing: break clumps apart and let grounds resettle evenly at every depth, then finish with a light pass that leaves the surface roughly level, no mound, no trench.
Take your time here. WDT fixes distribution through the depth of the puck, which tamping cannot correct later: a tamp compresses the arrangement that already exists; it does not move coffee from a dense patch to a thin one.
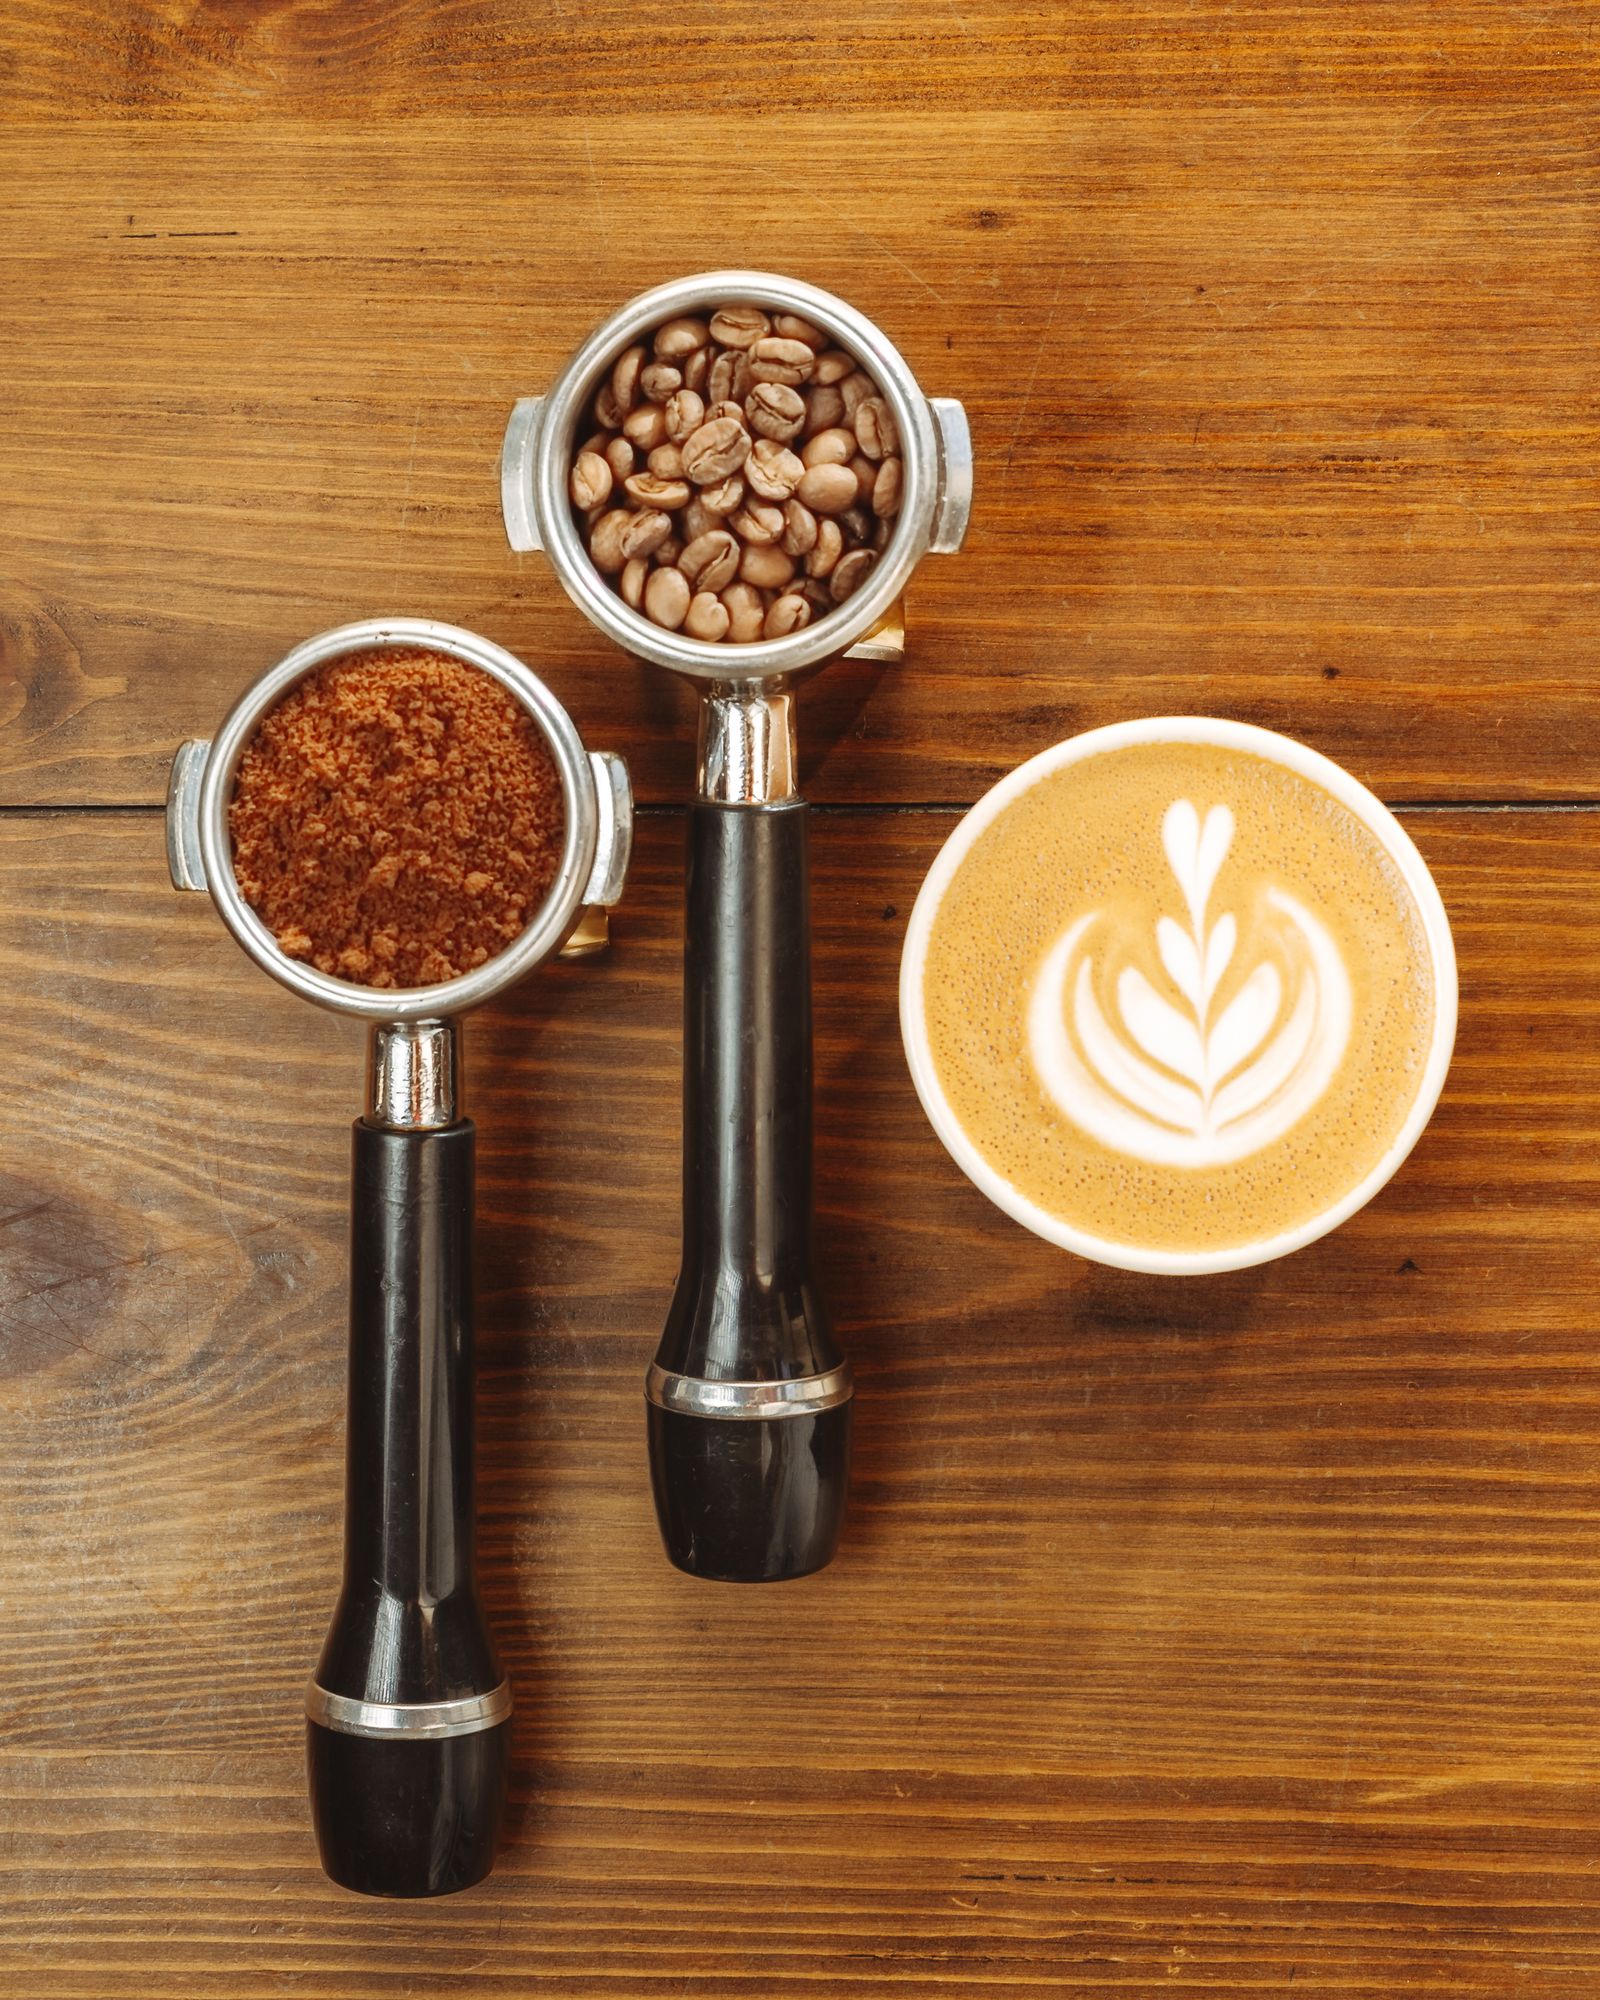
Step 3: Settle With an Optional Tap
After WDT the bed is fluffy and sits high. One or two gentle vertical taps on the counter or mat settle the grounds, collapse large air pockets, and bring the surface down to a tampable level. Keep it flat and light — you are settling, not compacting.
Step 4: Tamp Level, Straight Down
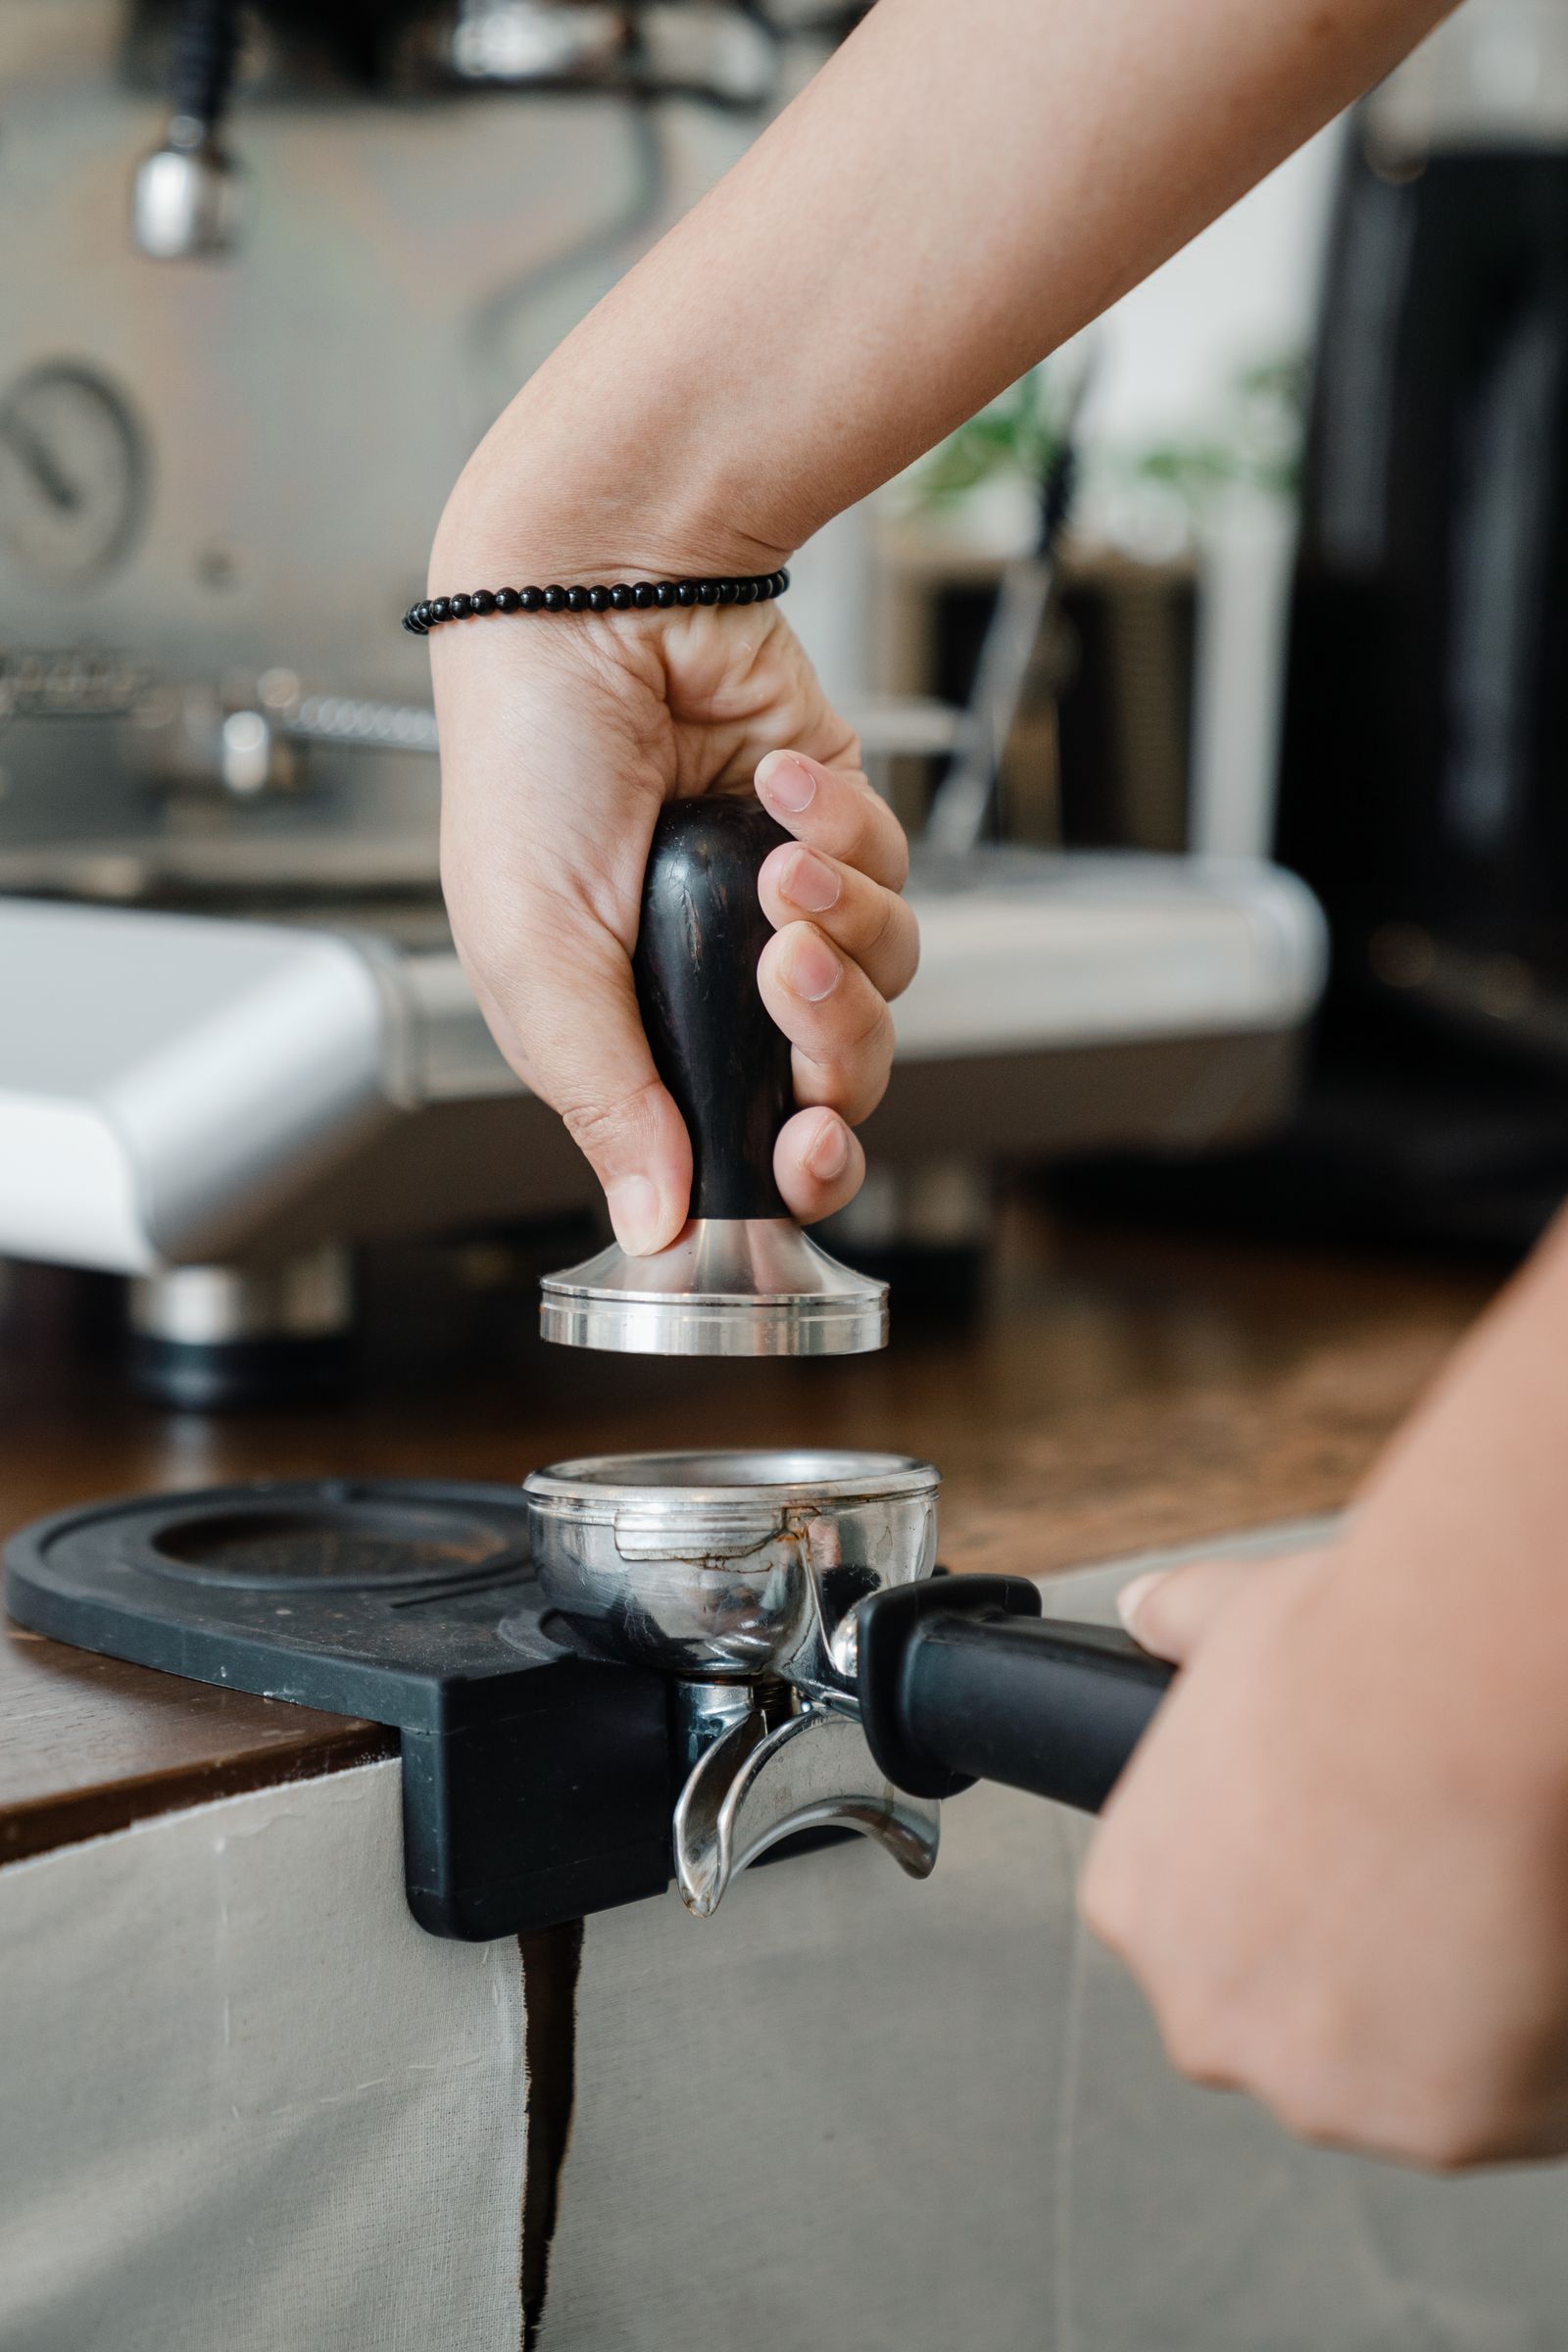
Set the portafilter on a flat, stable surface, place the tamper level on the bed, and press straight down with steady pressure. Traditional guidance cites about 30 lb, and practising on a bathroom scale shows what that feels like. The exact number matters less than levelness and repeatability: once the bed is fully compressed, extra force adds little, but a tilted tamp creates a slanted, thinner side that water finds every time. Use the same pressure, in the same vertical motion, every shot.
Check levelness by resting fingertips over the tamper base and basket rim, feeling for even contact, with wrist and elbow aligned so force travels vertically. After pressing, a light polish — a gentle turn with essentially no downward load as you lift away — frees grounds stuck to the base. Never twist while bearing down: rotating a loaded tamper can crack the puck surface.
Step 5: Wipe the Rim and Ears Clean
Brush loose grounds off the basket rim and the portafilter ears, the lugs that engage the group. Grounds on the rim prevent a proper seal, cause leaks and pressure loss, and bake onto the gasket over time. A two-second swipe with a dry finger or small brush protects the shot and the machine. Then lock in promptly and brew, following the standard steps for pulling the shot — a prepared puck left under a hot group begins to cook.
What Not to Do
Do not tamp with the portafilter balanced on a mat edge or counter lip, where it can rock into a slanted bed. Do not knock the portafilter side with the tamper after tamping — an older café habit — because the impact can crack the compressed puck and open exactly the channels you worked to prevent. Clear stray grounds before tamping, not after.
And know the routine’s limit: prep cannot save pre-ground coffee. It loses aroma quickly and cannot be freshly adjusted or properly distributed, so technique assumes coffee ground fresh for each shot. Good prep maximises what fresh grinding gives you; it does not substitute for it.
Recognising Channeling
A bottomless (naked) portafilter gives the clearest view, exposing the basket underside during extraction. Channeling shows as jets spurting sideways instead of dripping, pale blond streaks within the first seconds, or coffee emerging in a ring while the centre stays dry-looking — donut extraction. A healthy extraction gathers into one centred, syrupy stream that darkens evenly before gradually lightening.
Without one, rely on time and taste: a shot running much faster than usual for the same dose and grind, with thin, pale crema and that sour-bitter combination, is very likely channeling. Fix prep and pull again before blaming the grinder — inconsistent prep makes every other measurement unreliable.
How Puck Prep Interacts With Grind
Prep and grind are partners, not substitutes. Prep cannot fix a bad grind: far too coarse, and water rushes through even a perfect bed; far too fine, and the shot chokes however even the bed. What prep does is remove noise, so a grind adjustment’s result actually reflects the adjustment. Lock in a repeatable routine first, then adjust grind against it, using the guide to dialing in espresso by taste and time. Dial in with sloppy prep and you chase your tail; with solid prep, the process usually converges in a few shots.
Whole Latte Love's dialing-in support guide covers grind setting, prep and tamping together — a good second source on why prep and grind have to be fixed as a pair.
Frequently Asked Questions
Do I really need a WDT tool?
If your grinder produces clumps, WDT visibly improves evenness and is widely reported to reduce channeling. With fluffy, clump-free grounds the benefit is smaller, but it still levels the bed through its full depth.
How hard should I tamp, exactly?
Around 30 lb is the traditional reference, but a level, repeatable tamp matters more. Once the bed is fully compressed, extra pressure changes little; a tilted tamp changes a great deal.
Why does espresso spurt sideways from my bottomless portafilter?
Spurting is a classic channeling sign: water found a weak path and is jetting through. Review full-depth WDT, settling, and tamp level before changing the grind.
Should I tap the portafilter after tamping?
No. Knocking it after tamping can crack the puck and cause channeling. Brush grounds off the rim and ears instead, and lock in gently.
Can better tamping fix a shot that runs too fast?
Only if the fast flow came from channeling through an uneven puck. If the puck was even and the shot still ran fast, the grind is too coarse — a grind adjustment, not a tamping fix.
Comments
Post a Comment
Play nice — spam and promo links are deleted.