Dialing in espresso means adjusting a few variables, in a set order, until a shot tastes balanced — sweet and clear, neither sharply sour nor harshly bitter. Baristas recommend a simple method: lock most things in place, change only the grind, and let taste tell you when to stop. This guide covers the four variables, the standard recipe, a chart for common problems, and a simple shot log.
If you have never pulled a shot, start with the step-by-step espresso shot walkthrough, then come back here to make a good shot taste great.
The Four Variables That Control Every Shot
1. Dose — How Much Coffee Goes In
Dose is the weight of dry coffee in the basket, in grams. For a standard double basket, 18 g is the most common starting point. Dose sets the depth of the coffee bed water must push through: more coffee means more resistance and more material to extract; less means a thinner bed and a faster, weaker shot. Dose must also suit the basket — specs show most double baskets are rated for a range such as 16–20 g, and straying far outside it causes problems no grind change can fully fix.
2. Yield and Ratio — How Much Espresso Comes Out
Yield is the weight of finished espresso in the cup, also in grams. Ratio compares dose to yield: a 1:2 ratio from 18 g means 36 g out. A shorter 1:1.5 shot tastes more intense; a longer 1:2.5 shot tastes lighter and often sweeter if the shorter version was sour. Weigh yield rather than judging by volume, because crema makes a shot look bigger than it is. A 36 g shot is roughly 1.2 oz by weight, though it may look closer to 2 oz in the cup with crema.
3. Time — How Long the Shot Runs
Time is how long extraction takes from pump on to pump off. For the standard recipe, the target is 25–30 seconds. Time is an indicator, not a goal in itself: a shot that races through in 15 seconds is usually under-extracted and sour, while one that drips for 45 seconds is usually over-extracted and bitter. Time tells you what the grind is doing; taste tells you whether to believe it.
4. Grind — How Fine the Coffee Is
Grind size controls resistance. Finer coffee creates a denser bed, slows the water, and increases extraction. Coarser coffee lets water through faster and reduces extraction. Grind is the variable baristas adjust most, because small changes have a big, predictable effect — which is why consistency matters so much, as covered in this guide to choosing an espresso grinder under $500.
Temperature sits behind all four as a supporting condition. The standard brewing temperature is around 200°F (93°C). Much cooler and shots tend sour; much hotter and they tend bitter. Unless a machine allows easy adjustment, leave temperature at the factory setting while learning.
The Order: Lock Dose, Set Ratio, Time It, Adjust Grind Only
Step 1: Lock the dose. Pick 18 g and keep it there for the whole bag. Weigh every dose rather than scooping.
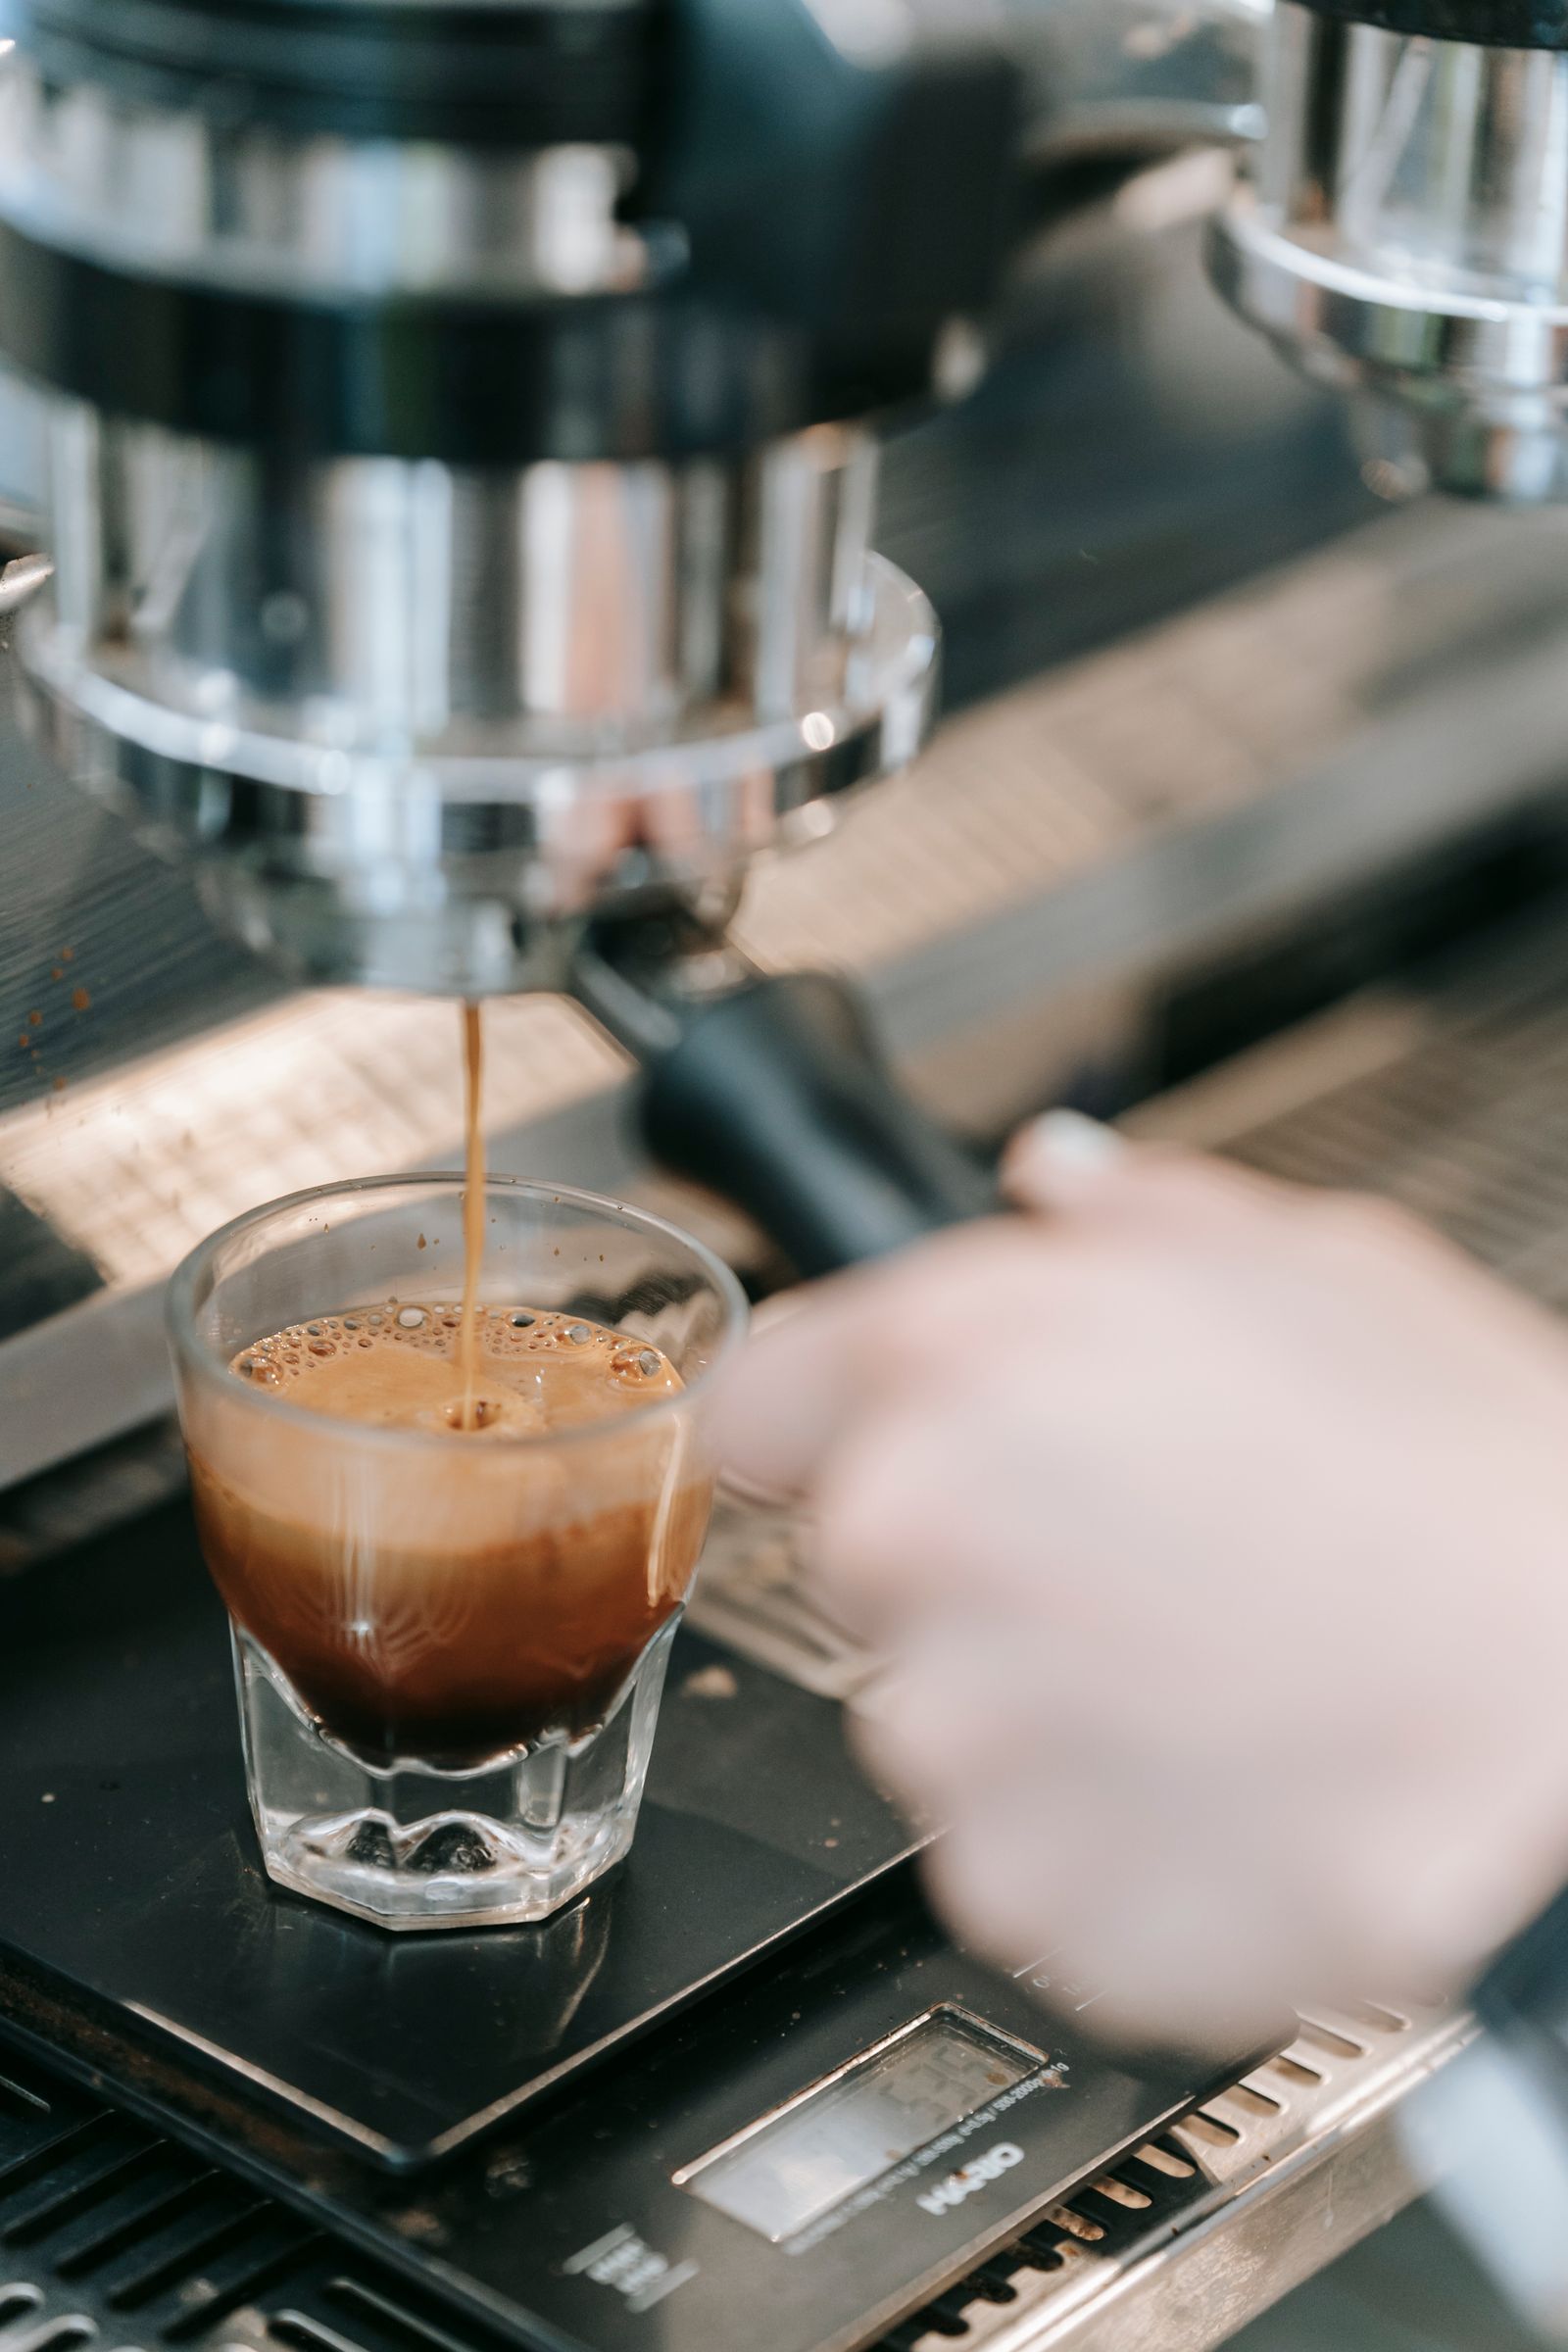
Step 2: Set the ratio at 1:2. Plan to stop at 36 g out, with the cup on a scale so yield can be watched live.
Step 3: Time the shot. Start a timer when the pump starts and note the time when the scale reaches 36 g.
Step 4: Adjust grind only. Make one small grind change based on time and taste, then pull the next shot with everything else identical. Repeat until the shot lands in 25–30 seconds and tastes balanced.
This order removes guesswork. If dose, yield, and grind all move at once, there is no way to know which change helped. With three variables locked, grind becomes a single dial: finer to slow the shot, coarser to speed it up.
The Standard Starting Recipe
- Dose: 18 g of fresh coffee
- Yield: 36 g in the cup (1:2 ratio)
- Time: 25–30 seconds from pump on
- Temperature: about 200°F (93°C)
This recipe is a starting point, not a law. Some beans taste best a little longer or shorter. But every new bag deserves a first shot at this recipe, because it gives a known reference to adjust from. Good preparation matters just as much as the numbers: an uneven puck will channel — water finds one weak path and rushes through it — and no recipe survives channeling. Make sure the basics in this puck prep guide to distribution and tamping are consistent before blaming the grind.
The Dial-In Chart: Match the Symptom to One Change
Pull the first shot at the starting recipe, find what it did in this chart, and make the single change listed. Pull the next shot before changing anything else.
| Symptom | What the Shot Did | The One Change to Make |
|---|---|---|
| Runs fast and tastes sour | Reached 36 g in well under 25 seconds; thin, sharp, sour | Grind finer, one small step, same dose and yield |
| Runs slow and tastes bitter | Took well over 30 seconds, or dripped slowly; dry and harsh | Grind coarser, one small step, same dose and yield |
| Right time but still sour | 36 g in 25–30 seconds, yet sharp and underdeveloped | Keep the grind; extend yield toward 1:2.5 — about 45 g out |
| Right time but still bitter | 36 g in 25–30 seconds, yet dry, ashy, or harsh | Keep the grind; pull shorter toward 1:1.5 — about 27 g out |
Notice the logic: grind fixes speed problems. When speed is already right but flavour is off, ratio does the fine-tuning — a longer yield pulls more sweetness from a sour shot, and a shorter yield leaves the harshest compounds behind in a bitter one. For a deeper look at the flavours, see this troubleshooting guide to why espresso tastes sour or bitter.
Make grind changes small. A big jump can overshoot the sweet spot, turning a fast, sour shot into a choked, bitter one. Many grinders also retain a little coffee, so a change may take a shot or two to show fully.
Why You Change One Variable at a Time
Espresso is a system: dose, yield, time, and grind all influence each other. Grinding finer slows the shot, lengthens time, raises extraction, and changes flavour. If dose and yield changed too, three causes are tangled together and the result teaches nothing. One change at a time turns each shot into a readable experiment: 22 seconds and sour, one step finer, then 27 seconds and sweet. That lesson transfers to every future bag. Random changes sometimes produce a good shot by luck — but luck cannot be repeated tomorrow morning.
How to Log Shots: A Simple Shot Journal
A shot journal takes ten seconds per shot and saves a lot of wasted coffee. A notebook by the machine or a phone note both work. For each shot, record:
- Dose: grams in (for example, 18 g)
- Yield: grams out (for example, 36 g)
- Time: seconds from pump on to pump off
- Taste: a few honest words — sour, balanced, bitter, sweet
Adding grind setting, bean name, and roast date makes the journal even more useful. Patterns soon appear, and when a shot goes wrong, the last good entry shows exactly which settings to return to.
Beans and Resting: Why New Bags Behave Badly at First
Fresh coffee needs rest. Beans release carbon dioxide after roasting, and that gas interferes with extraction. Shots on beans just 2 days off roast often run wild — gushing and sour one time, choked the next — however careful the preparation. The standard guidance is that most blends settle at around 7–14 days after roasting, when shots become predictable. Very fresh beans are not ruined; they just need patience. At the other end, beans many weeks old go stale, lose sweetness, and often run fast however fine the grind goes.
The 3-Shot Rule for a New Bag
Baristas recommend a calm rule for every new bag: expect the first 3 shots to be information, not drinks to judge the bag by. Pull shot one at the standard recipe and log time and taste. Adjust the grind once and pull shot two. Adjust once more if needed and pull shot three. By then, most beans are close to their sweet spot, and the journal holds a working recipe for the rest of the bag. If a shot tastes good sooner, stop early and enjoy it — the rule is a ceiling on frustration, not a requirement to waste coffee.
Dialing in gets faster with every bag. The variables and the chart stay the same, and the journal fills with reference points, until what felt like alchemy in week one becomes a calm two-shot routine.
For a second walkthrough of the same method, Whole Latte Love's guide to dialing in your grind size uses the same lock-the-dose, change-the-grind order this article teaches.
Frequently Asked Questions
What is the best starting recipe for dialing in espresso?
The standard starting recipe is 18 g in, 36 g out (1:2), in 25–30 seconds, at about 200°F (93°C). Start every new bag there, then adjust grind first and ratio second.
Should I change dose or grind first?
Change the grind first. Lock dose at 18 g and yield at 36 g, then use grind to bring the shot into the 25–30 second window. Dose is a later, bigger adjustment.
Why does my espresso taste different every day on the same settings?
Beans change as they age and degas, and small puck prep differences add up. A shot journal separates real drift from random variation, and a one-step grind tweak usually restores balance.
How many shots should it take to dial in a new bag?
Most bags land close to balanced within three shots using the standard recipe and one grind change at a time. Very fresh or very stale beans may take longer.
Is 25–30 seconds always the right shot time?
No. Time is an indicator, not a target to worship. A balanced shot at 32 seconds beats a sour one at 27 seconds. Use time to guide grind changes, then let taste decide.
Comments
Post a Comment
Play nice — spam and promo links are deleted.